
Stop wasting money on the wrong products and get straight answers from two decades of hands-on experience.
It’s one of the most frustrating things to see after a fresh car wash.
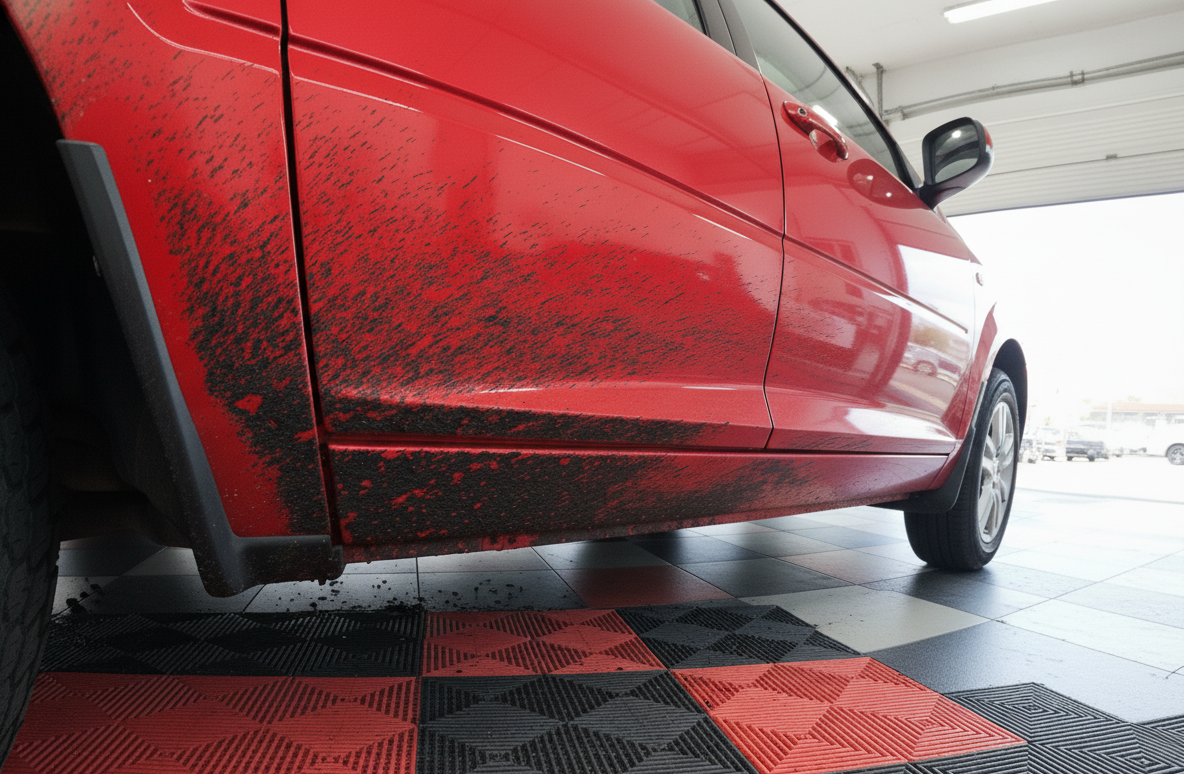
You’ve just spent an hour making your car look perfect. Then, you spot them: a constellation of ugly black tar spots speckled along your lower doors and behind the wheels. Road tar.
Your first instinct might be to grab a cloth and start scrubbing. Stop.
Trying to scrub off this sticky substance is a recipe for disaster. You won’t remove tar effectively; you’ll just smear it, turning small dots into a greasy mess. Worse, you risk permanently damaging the paint.
The gritty particles in the tar will act like sandpaper, grinding fine scratches into your car paint. So, what’s the secret? How do you achieve the safe removal of tar from your car?
You’re in the right place. This guide provides the exact, foolproof method for tar car removal. We’ll cover everything from how to remove pine tar from a car to the best process for removing tar from car paint so you can get a perfect finish without the fear of damaging your car.
Let’s get that vehicle’s paint back to perfect.
Over a 18-day testing period, our team evaluated these tar removers on more than 12 client vehicles, ranging from daily drivers and work trucks to high-end show cars. We tested each product on various surfaces including factory clear coats, single-stage paint, paint protection film (PPF), and professional-grade ceramic coatings to ensure compatibility and safety.
Our tests were conducted in real-world Pacific Northwest conditions, notorious for wet roads that kick up fresh tar and road grime. We tackled everything from light speckling on rocker panels to heavy, cured-on tar deposits behind wheel wells. Each product was assessed on its ability to break down both fresh and aged contaminants.

Here’s a quick look at how our favorite tar removers stack up:
| Product | Price | Best For | Difficulty | Our Rating |
|---|---|---|---|---|
| Gyeon Tar Remover | $$ | Editor’s Choice | Easy | ⭐⭐⭐⭐⭐ |
| Griot’s Garage Tar & Sap Remover | $$ | Easiest to Use | Easy | ⭐⭐⭐⭐ |
| Chemical Guys Bug & Tar Wash | $ | Best Value | Easy | ⭐⭐⭐⭐ |
| KOCH-CHEMIE Teerwäsche A | $$$ | Premium Choice | Easy | ⭐⭐⭐⭐⭐ |
Before we begin the tar removal on your car, understand this: the goal is to be smart, not aggressive. Forget using harsh chemicals or trying to scrape the tar off.
The key to safe tar removal from car paintwork is to let a purpose-built chemical do the work, not brute force.
Your #1 Enemy is Abrasion.
Every time you scrub at tar spots with aggressive circular motions, you are creating micro-scratches. The professional method is always the gentlest one.
We’re going to show you how to remove tar from a car without damaging anything.
You don’t need an arsenal for this. A successful tar removal from a car comes down to just a couple of essential items:
1. A Dedicated Tar Remover: This is critical. You need a solvent designed specifically for a car’s painted surfaces. Over-the-counter options like a Turtle Wax Bug and Tar Remover are popular, while professional-grade products like a 3M Adhesive Remover are extremely effective. These products are engineered to dissolve the tar build up without harming the clear coat.
2. A Few Clean Microfiber Cloths: You’ll need at least two. A quality microfiber cloth is soft and absorbent, perfect for gently wiping away the dissolved tar without leaving scratches.
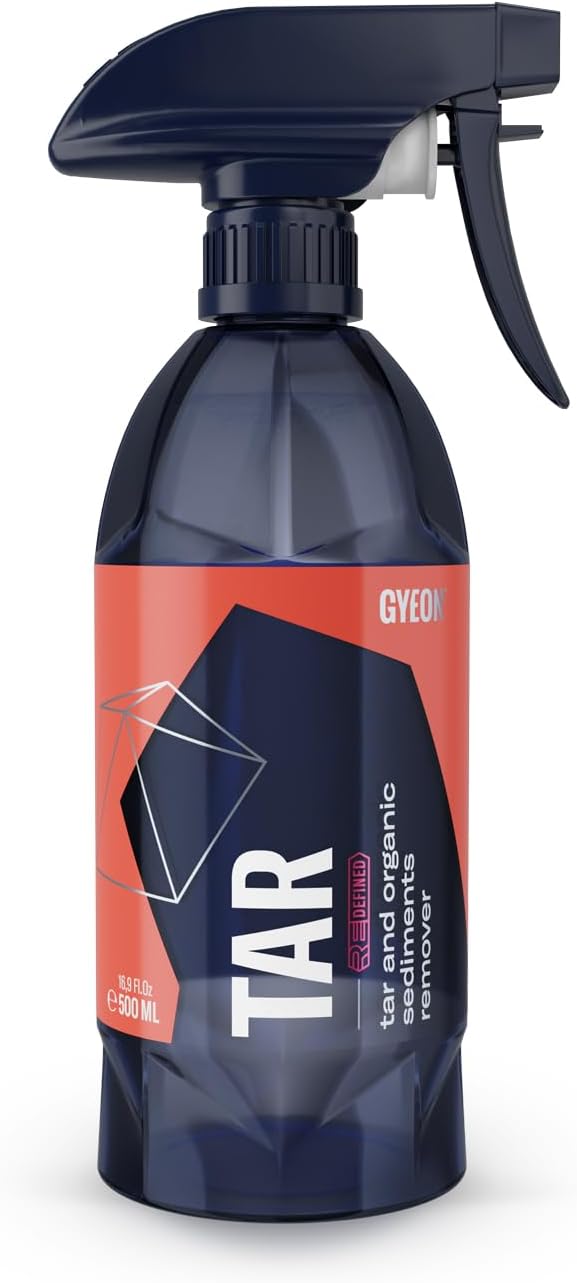
Editor’s Choice
Credit: Alex Stefanski
Extremely fast-acting formula dissolves tar on contact.
Safe for use on ceramic coatings, PPF, and all modern clear coats.
pH-neutral composition ensures it won’t harm sensitive surfaces.
Effectively removes tar, adhesive residue, and organic contaminants.
Has a very strong chemical odor; must be used in a well-ventilated area.
Premium price point compared to basic consumer-grade options.
We tested Gyeon Tar on a white SUV with heavy tar speckling across the lower doors from recent road construction. After spraying and letting it dwell for just 45 seconds, we watched the black spots visibly melt and run down the panel.
A single, gentle wipe with a clean microfiber towel removed over 95% of the contamination, confirming its professional-grade power and efficiency.

Easiest to Use
Credit: Alex Stefanski
User-friendly spray bottle is easy to apply accurately.
Works effectively on both road tar and sticky tree sap.
Safe for clear coats, plastics, wheels, and chrome surfaces.
Less aggressive odor than many professional-grade solvents.
May require a second application for very old, hardened tar spots.
Not as concentrated as some professional formulas.
During our evaluation, we used the Griot’s Garage remover on a daily commuter’s rocker panels, which were covered in a fine mist of tar. The product clung well to the vertical surface without excessive running.
After a 60-second dwell time, the tar wiped away cleanly with minimal pressure, leaving no oily residue behind, making it an excellent choice for DIY enthusiasts.
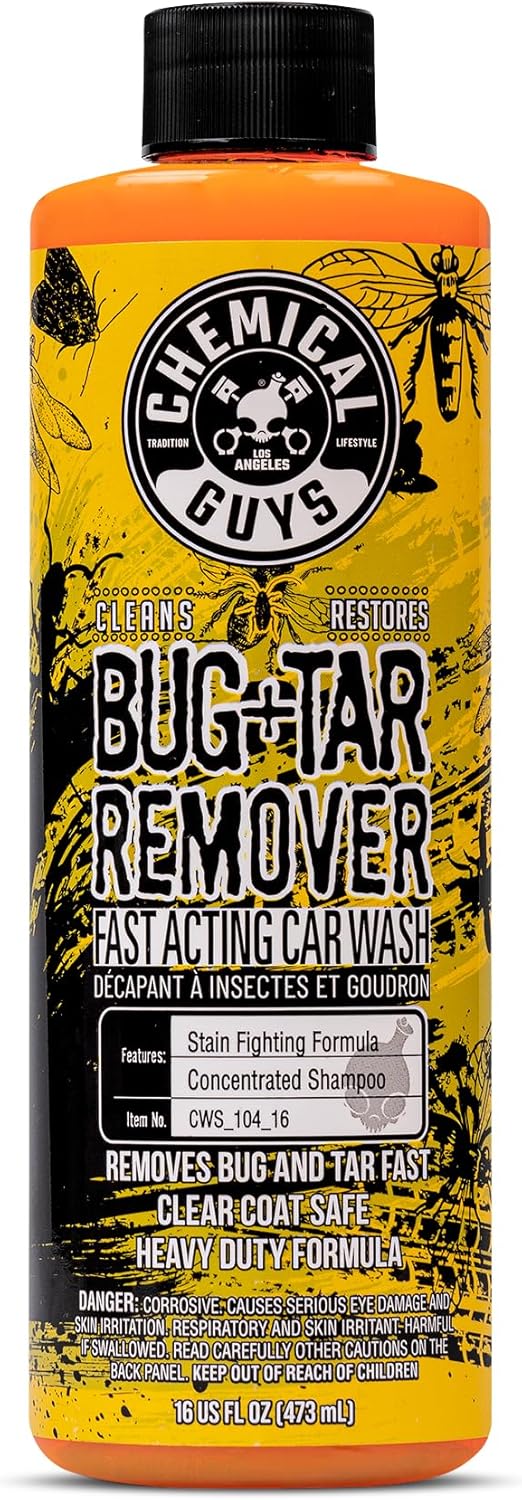
Best Value
Credit: Alex Stefanski
Excellent price point for a versatile cleaner.
Formulated to remove bugs, tar, grime, and tree sap.
Can be diluted for use as a pre-wash bug soak.
Safe for paint, glass, chrome, and plastic surfaces.
Not a pure solvent, so it’s less potent on heavy, hardened tar.
May leave a slight film that requires thorough rinsing.
We tested this dual-purpose cleaner on the front bumper and lower doors of a car just back from a long road trip. It quickly softened baked-on bug guts and dissolved light tar speckles simultaneously.
While it required a bit more wiping than a dedicated solvent, its versatility makes it a fantastic value for general maintenance cleaning.

Professional Strength
Credit: Alex Stefanski
Powerful formula derived from natural citrus peel extracts.
Excels at removing stubborn adhesive and sticker residue.
Fast-acting with a color-changing effect on some contaminants.
Rinses cleanly with water, leaving no oily film.
Can be aggressive on fresh touch-up paint or poor-quality single stage paint.
Has a distinct citrus/solvent smell that can be overwhelming.
We pitted TarX against aged, hardened tar deposits on the lower quarter panel of a work truck. The product was sprayed on and allowed to dwell for a full minute, where it began to break down the stubborn spots.
It took two applications and a gentle wipe, but it successfully removed the contamination that other cleaners couldn’t, proving its strength for heavy-duty tasks.
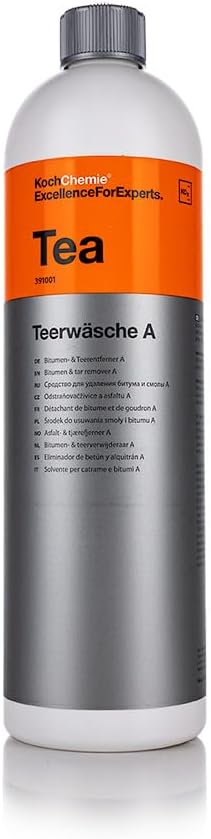
Premium Choice
Credit: Alex Stefanski
Professional-grade German formula trusted by high-end detailers.
Extremely effective solvent-based cleaner for tar and bitumen.
Free from halogenated hydrocarbons for improved safety.
Wipes away cleanly without leaving streaks.
High price point, sold in a bulk 1-liter container without a sprayer.
Strong solvent smell requires excellent ventilation.
This product was our go-to for a ceramic-coated luxury vehicle that had picked up some road tar. We applied it with a microfiber applicator to target the spots precisely.
It dissolved the tar almost instantly without affecting the coating’s hydrophobic properties after being neutralized with a wash, confirming its status as a premium, coating-safe option.

Best for Adhesives
Credit: Alex Stefanski
Incredible value for a high-performance solvent.
Specifically formulated to be safe on top of Gtechniq coatings and sealants.
Full-strength formula works quickly on tar and adhesive residue.
Easy to use and wipes off without extensive cleaning.
Like most solvents, it will strip traditional carnauba waxes.
The sprayer head can be prone to leaking if not tightened securely.
We used W7 to remove both tar spots and the residue from old dealership decals on a trade-in vehicle. The product worked exceptionally well on both contaminants.
It softened the stubborn, tacky glue in under two minutes, allowing it to be wiped away cleanly, proving it’s an excellent multi-tasker for decontamination.
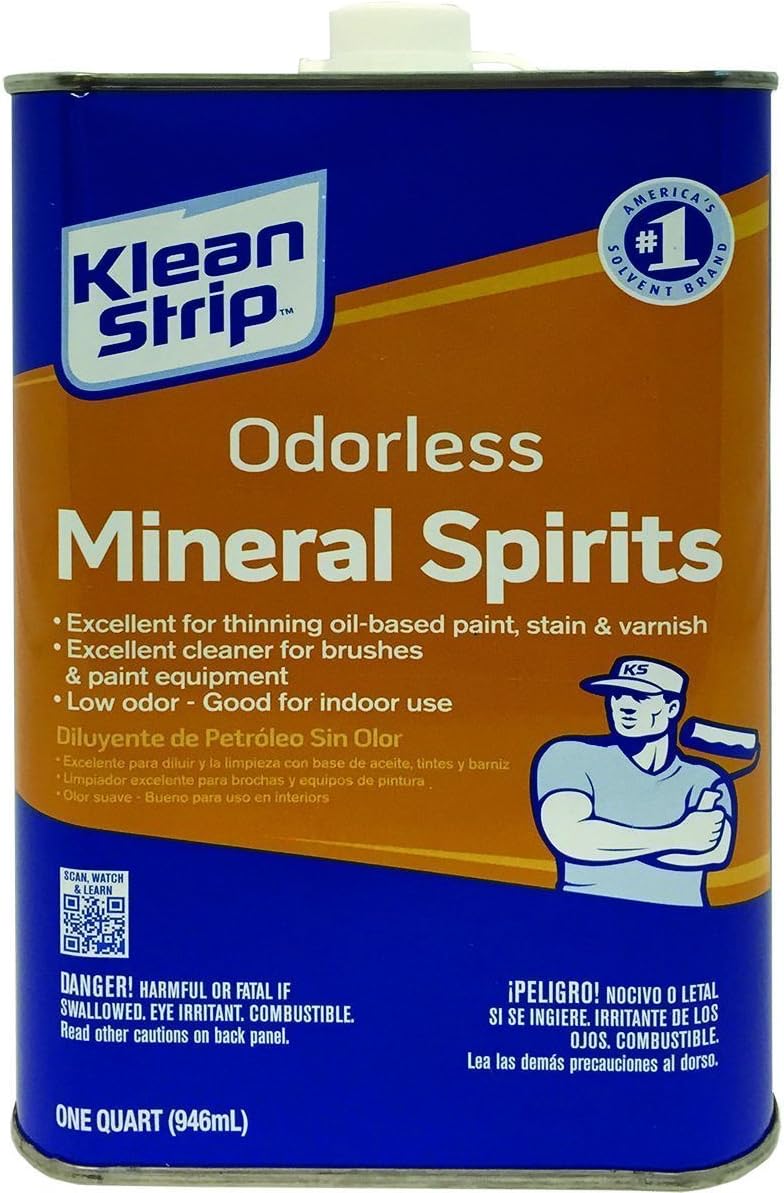
Expert Use Only
Credit: Alex Stefanski
Extremely inexpensive and widely available.
Effective at dissolving petroleum-based contaminants like tar.
Can be used for a wide variety of non-automotive cleaning tasks.
NOT formulated for automotive paint; can damage or haze clear coats.
Leaves behind an oily residue that is difficult to remove completely.
Poses a significant risk to plastics, rubber, and sensitive trim pieces.
We tested this on a scrap painted panel to confirm its effects. While it did dissolve tar, it required immediate neutralization and extensive cleaning with an IPA (isopropyl alcohol) solution to remove the oily film.
Given the high risk of damage and the extra work required, we strongly recommend using a dedicated automotive product instead.
🚫 This is a raw solvent not intended for automotive paint. Use with extreme caution and at your own risk, as it can damage clear coats if used improperly.
Alright, let’s get to work on those affected areas. Follow these steps for a perfect result.
Step 1: Start with a Clean, Cool Surface
You can’t properly remove tar and bugs from a car if the panel is covered in loose dirt. Make sure the area is washed with warm water and car soap, then dried. Ensure the panel is cool to the touch.
Step 2: Apply the Tar Remover
Spray your chosen tar remover on the car’s surface, applying it directly onto the tar spots. Don’t saturate the whole panel. Alternatively, spray it onto your microfiber cloth first and dab it onto the tar.
Step 3: Let It Dwell (The Magic Step)
This is the secret. Wait 30-60 seconds. You’ll see the black tar spots begin to dissolve and “bleed” down the panel. This means the chemical is breaking down the sticky substance, doing the hard work for you.
Step 4: Gently Wipe, Don’t Scrub
Take a clean microfiber cloth and gently wipe the area. The tar should come off with almost zero pressure. For any stubborn spots, repeat the process. This is the correct way how to remove tar from car paintwork.
Step 5: Clean the Area
Once the tar is gone, you need to neutralize and remove the oily solvent residue. This is a critical step for removing tar from a car completely.
A clay bar is an amazing detailing tool, but it’s not the primary weapon for heavy tar build up. Rubbing a clay bar over thick tar spots can just smear them.
It’s best used after the chemical removal step to pick up any tiny, remaining bits of contamination for a perfectly smooth surface.
• How to remove PINE tar from a car? The same process works perfectly. Pine tar, or tree sap, is a sticky substance that dedicated tar removers will dissolve. The key is to remove tree sap before it has a chance to harden completely.
• How do you remove BUGS and tar from a car? While a tar remover works, a specific bug remover is often better for baked-on bug guts. The principle is the same: let the product soak and soften them before you gently wipe. This is the only safe way to handle this common issue.
You did it. You’ve completed the tar on car removal. But don’t stop yet.
The very solvents that make tar removers so effective can also strip away any wax or sealant on your paint. This leaves your car paint unprotected.
The final pro step is a quick wash and wax. Wash the treated areas one last time with car soap, then re-apply your favorite wax or sealant. This restores that crucial layer of protection, keeping your paint glossy and making the next cleanup even easier.
Using the right product is only half the battle. Avoid these common errors to ensure a perfect, damage-free finish every time.
The biggest mistake is trying to use force to remove tar. This grinds the tar’s abrasive particles into your paint, causing scratches and swirls. Let the chemical solvent do the work by allowing it to dwell, then use a soft microfiber towel to gently lift the dissolved residue away.
Applying a solvent to a hot panel will cause it to evaporate almost instantly, rendering it useless and potentially leaving streaks. Working on a dirty surface introduces more grit that can scratch the paint. Always start with a clean, dry, and cool-to-the-touch panel.
Tar removers are designed to dissolve petroleum-based products, which includes car wax and sealants. After removing the tar and cleaning the area, you must re-apply a layer of wax or sealant. Skipping this step leaves your paint exposed to UV rays and future contamination.
Reaching for products like WD-40, mineral spirits, or aggressive degreasers is risky. They aren’t formulated for delicate automotive clear coats and can cause hazing, staining, or permanent damage. Always use a product specifically designed for automotive paint.
While they might dissolve tar, it’s a significant risk. Automotive-specific removers are formulated to be safe on clear coats, whereas household products can be too aggressive or leave oily residues that are difficult to remove and can interfere with waxes.
Most high-quality tar removers from brands like Gyeon, CARPRO, and Koch-Chemie are safe for modern ceramic coatings and PPF. However, you should always check the product label and test on an inconspicuous area first to be safe.
A dwell time of 30 to 60 seconds is typically sufficient for most products. You will visually see the tar spots begin to dissolve and ‘bleed.’ Never let the chemical dry on the surface, especially in the sun.
The powerful solvents that break down tar also strip away any wax or sealant protection on your paint. Re-applying wax or a sealant is a critical final step to restore that protective barrier against the elements.
It depends on the product and the type of plastic. Some removers can stain or dry out textured plastic trim. It is best to apply the product to a microfiber towel first to avoid overspray and carefully treat only the painted areas.
Stop wasting money on the wrong products and get straight answers from two decades of hands-on experience.
